Finding Great Natural Lighting for Photography: Mastering Light for Stunning Photos
Lighting is one of the most crucial aspects of photography. Natural lighting can produce beautiful, soft, and authentic images when harnessed well, while improper lighting can make your photos appear flat or harsh. This blog explores how to find optimal lighting, avoid harsh sunlight, and choose ideal locations based on the time of day and the surrounding environment.
1. What Are the Best Times of Day for Natural Light Photography?
Golden Hour and Blue Hour are renowned in photography for the beautiful light they produce. Each has distinct characteristics:
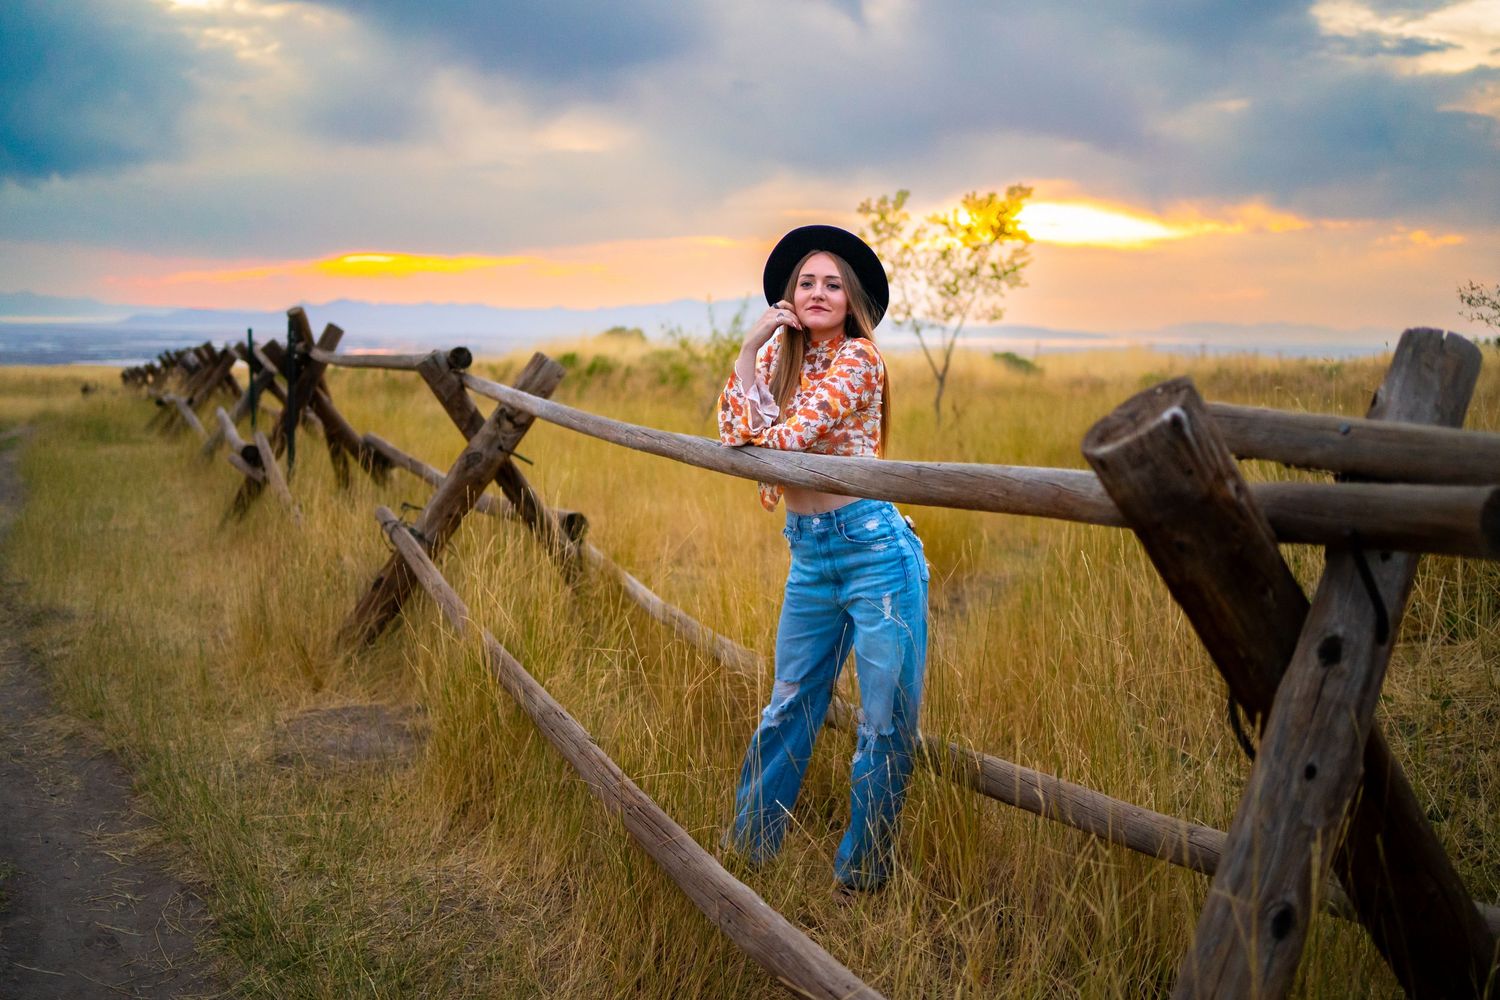
Golden Hour (Sunrise and Sunset): This period occurs right after sunrise and just before sunset, when the sun is lower in the sky. The light is softer, warmer, and more diffused, which creates flattering shadows and a warm glow. Golden hour light is perfect for portraits and outdoor landscapes, as it brings out skin tones, texture, and detail.
Blue Hour (Just Before Sunrise or After Sunset): This is the time when the sun is just below the horizon. The light is cooler and more diffused, producing a soft blue cast that gives photos a calming, ethereal quality. Blue hour is ideal for capturing a moody or cinematic feel and works well for cityscapes, waterscapes, and nighttime portraits.
- Midday: While not generally recommended, midday lighting can be used creatively. However, when the sun is directly overhead, it casts strong, unflattering shadows, especially in portraits. If you need to shoot around noon, find shaded areas or use tools to soften the sunlight.
2. How Can I Avoid Harsh Sunlight for Softer, More Even Lighting?
Direct sunlight can cause high contrast and harsh shadows, which can make skin appear uneven and backgrounds overly bright. Here’s how to soften midday light:
Seek Out Open Shade: Position your subject in shaded areas under trees, buildings, or awnings. Open shade provides indirect, soft light that’s diffused and even across your subject, minimizing harsh shadows.
Backlighting: When the sun is strong, position your subject with the sun behind them. This backlighting technique creates a beautiful halo effect around your subject, especially when shooting during golden hour. Use a reflector or adjust your camera’s exposure settings to brighten your subject’s face, as the light can sometimes make them appear darker.
Use Natural Reflectors: Light-colored surfaces like walls, sandy ground, or reflective bodies of water can act as natural reflectors, bouncing soft light onto your subject. Position your subject so that these surfaces reflect light onto them, adding natural fill light and reducing contrast.
Portable Diffusers: If you’re shooting during midday or in strong sunlight, a diffuser (like a translucent white umbrella or reflector) can soften the light effectively. Place it between the sun and your subject to create instant shade, providing a much softer, even light.
3. How Do I Choose Lighting Spots Based on My Surroundings?
The area around you plays a large role in the quality of your light. Take time to observe how different elements affect your lighting options:
Use Nearby Reflective Surfaces: Look for light-colored surfaces, such as white walls or reflective windows, which can naturally bounce light onto your subject. This approach works well for adding brightness to shaded or lower-light areas without relying on additional equipment.
- Leverage Landscapes and Structures for Softness: Structures like buildings, trees, and fences can offer natural shade and help control lighting. They also create shadows that you can use to add depth and dimension, especially if you position your subject near the edge of shadowed areas.
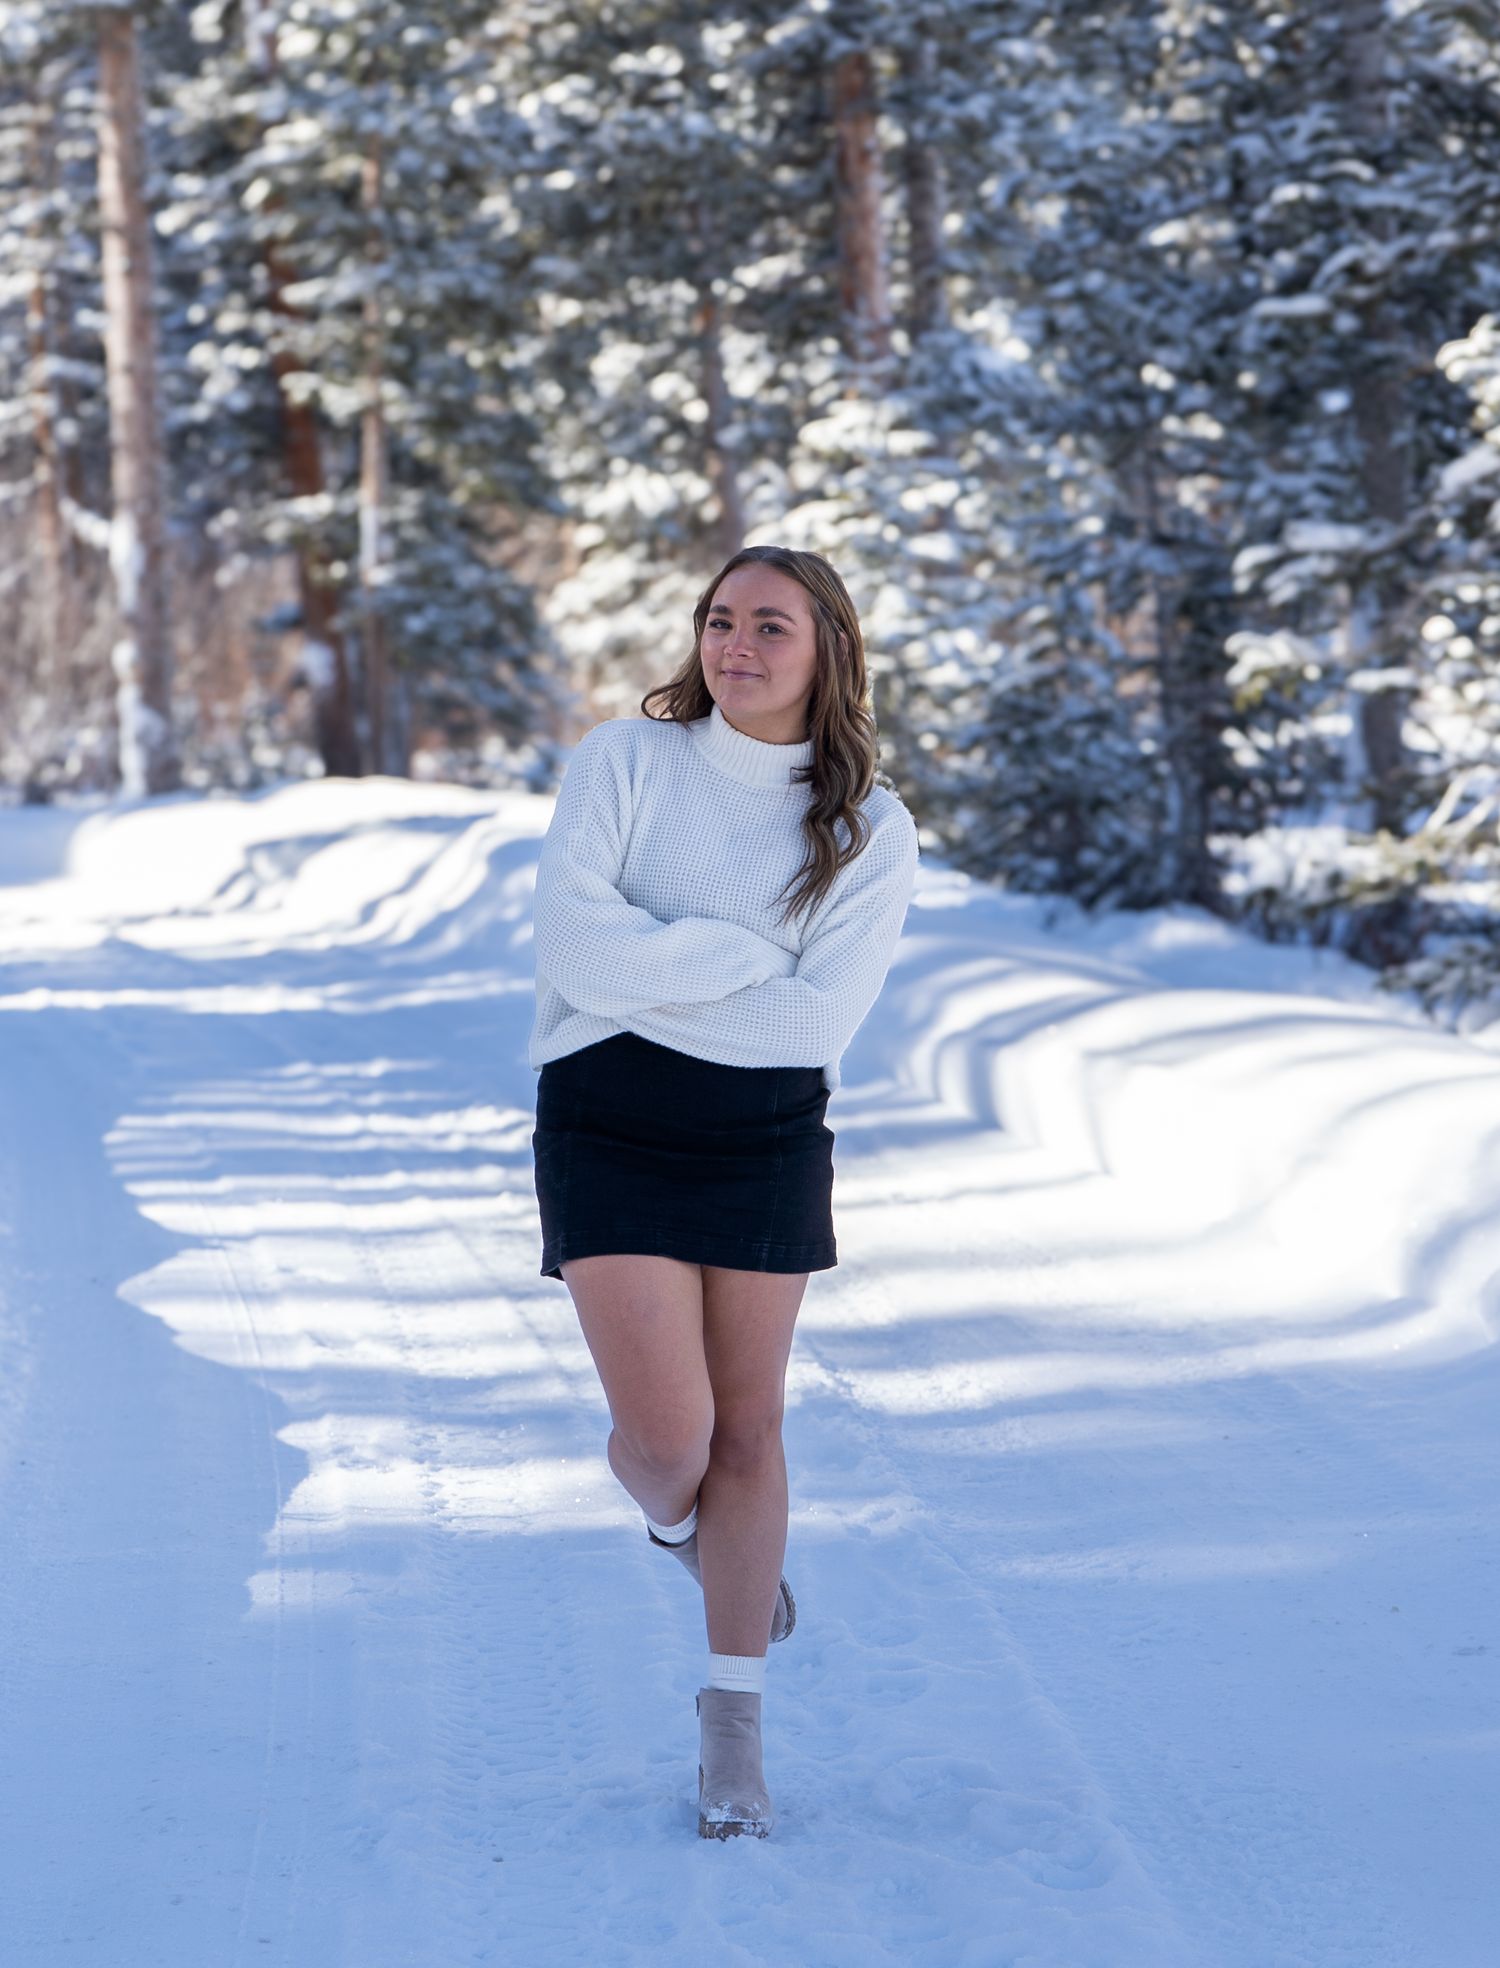
- Look for Open Fields and Clear Areas for Even Lighting: Shooting in open areas, especially during golden hour, allows for even, soft light. Avoid shooting near dark-colored surfaces, as they absorb light and can make your photos look overly dark or shadowed.
4. How Can I Find the Best Lighting for Portraits?
Portraits look best when lighting highlights facial features naturally and enhances the subject’s expression. Here are tips to capture portraits in natural light:
Catchlight in the Eyes: Catchlight, the small reflection of light in the subject’s eyes, adds a sparkle and brings life to portraits. Position your subject so that there’s light coming from a window, reflector, or open sky to create this effect.
Use Side Lighting for Depth: Side lighting, where light falls on one side of the face, adds depth and enhances facial contours. Side lighting works well for creating a natural look and avoids flat lighting that can sometimes appear too staged.
Backlight for a Halo Effect: Shooting with the light source behind your subject creates a halo around their hair and shoulders, giving a soft, ethereal glow. You’ll need to adjust exposure to keep your subject well-lit, and a reflector or gentle fill flash can help bring out details.
5. What Should I Know About Indoor Natural Lighting?
Indoor lighting is a different challenge, but there are simple ways to harness natural light indoors:
Position Near Windows: Natural window light is ideal for indoor portraits and product photography. Move your subject closer to the window to make use of soft, directional light. East-facing windows provide morning light, while west-facing ones offer warm afternoon light.
Sheer Curtains for Diffusion: If direct sunlight is streaming through, sheer curtains can act as diffusers, softening the light and reducing harsh shadows. This method works well when you want to avoid the high contrast that direct sunlight creates.
Reflect Light Indoors: Reflectors, white walls, or even a piece of white paper can bounce light back onto your subject, minimizing shadows and brightening the area. This technique is useful when shooting on overcast days or in lower-light rooms.
6. How Do I Handle Changing Light Conditions in Outdoor Shoots?
Outdoor lighting changes quickly, so it’s important to stay adaptable. Here’s how to handle changing conditions:
Use Aperture Priority Mode: When shooting outdoors, switching to Aperture Priority mode can help maintain the right depth of field while your camera adjusts to changing light conditions. This is particularly useful during golden hour, as light levels change quickly.
Bring Reflectors or Diffusers: Portable reflectors and diffusers can help you adapt to sudden shifts in sunlight. Use them to fill in shadows, reduce glare, or soften bright light on overcast days.
Choose Fast Lenses for Low Light: Lenses with wider apertures (f/1.8 or f/2.8) allow more light in, which is helpful for early morning or late evening shoots. A fast lens enables you to capture more details in low light without pushing ISO levels too high.
7. How Can I Use Different Lighting for Various Photography Styles?
The type of lighting you use often depends on the style you want to create. Here’s how to use light creatively for different photography genres:
For Soft Portraits: Use open shade or backlighting for soft, diffused light that flatters skin tones. A reflector can fill in shadows to create even skin tones and natural contours.
For Dramatic Landscapes: Side lighting or golden hour lighting adds dimension to landscapes, casting long shadows and highlighting textures in nature. Experiment with silhouettes and shadows for a dramatic effect.
For Product or Still Life Photography: Indoor window light works well for smaller items. Position the product near a window, and use reflectors to bounce light from different angles for a professional look.
Conclusion: Mastering Natural Light for Stunning Photos
Working with natural light takes practice, but understanding how to harness its qualities will elevate your photography skills immensely. Whether you’re using the soft glow of golden hour, finding shade during midday, or experimenting with indoor window light, knowing how to adapt to lighting conditions helps you capture stunning images with a professional edge.
Remember, the key to mastering natural light is observation and flexibility. Experiment with different times, settings, and techniques to find your personal style and make the most of any lighting situation!